Intro
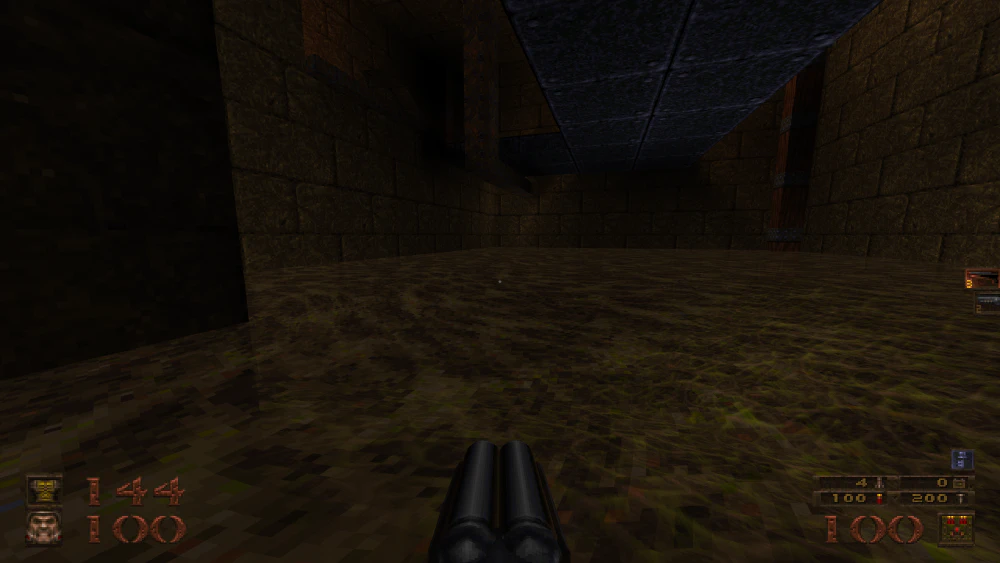
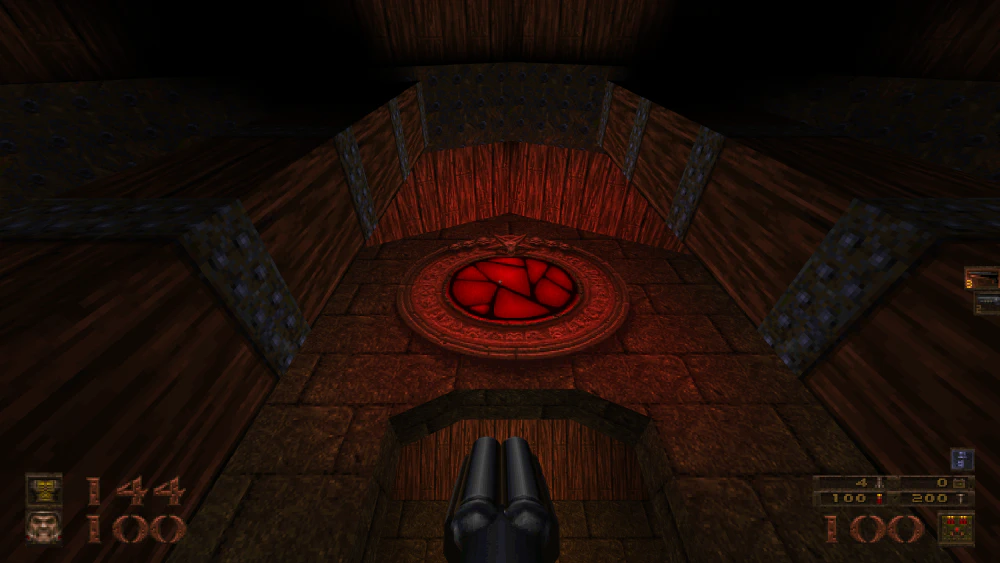
Quake is a very old game, with many source ports available, including the official Remastered version.
Because of this, it can be very hard to find a good version to play, as many communities recommend different versions, and a lot of information available online is outdated or only relevant to specific ports.
Many people don’t care much, and simply opt to play the Remastered version. Doing so will provide a decent experience, but this guide can hopefully provide an even better looking and playing version, with many of the enhancements one would expect from a modern rerelease, without any of the downsides of the Remastered version.
Why not just use the Remastered version?
The Remastered version is fine for most people, however I don’t particularly like it for the following reasons:
- Forced “Bethesda Logo” and other annoying unskippable intro videos (fixable by deleting files, but it’s the principle that counts)
- The movement feels extremely strange and far more floaty than the original game
- Maps are overbright and filled with ugly purple fog
- Have to wait multiple seconds in a loading screen just to get to the main menu when starting the game!
- The information screen for the new HUD (press TAB during single player) is extremely ugly, the bar at the bottom of the screen was much better.
- Screen messages (Jump Here etc) are huge and very hard to read. This can probably be adjusted, but I don’t know how.
- All multiplayer goes through Bethesda.net. While LAN play is still available, the multiplayer system encourages you to use Bethesda.net matchmaking, rather than a classic server list.
- The main menu feels sluggish, like each option takes an extra 0.25 seconds when moving up and down.
- Parts of gameplay feel slow and unresponsive, including the mouse at times, and the performance is bad
- Nightmare changes are nonsensical. 50 HP cap is arbitrary and overly punishing. The vanilla Nightmare balance was mostly fine. Some tweaking would have been good here, rather than a complete overhaul.
- Higher quality sounds are a mixed bag. The enemy barks are especially bad.
There are some things I like about the Remastered version. If these matter a lot to you, you should play that version instead of following this guide:
- The ability to turn off auto-weapon-switching on pickup
- Very good multiplayer experience. Many modern features including matchmaking, split-screen, push-to-talk, crossplay, etc. Still offers LAN play for those who want it.
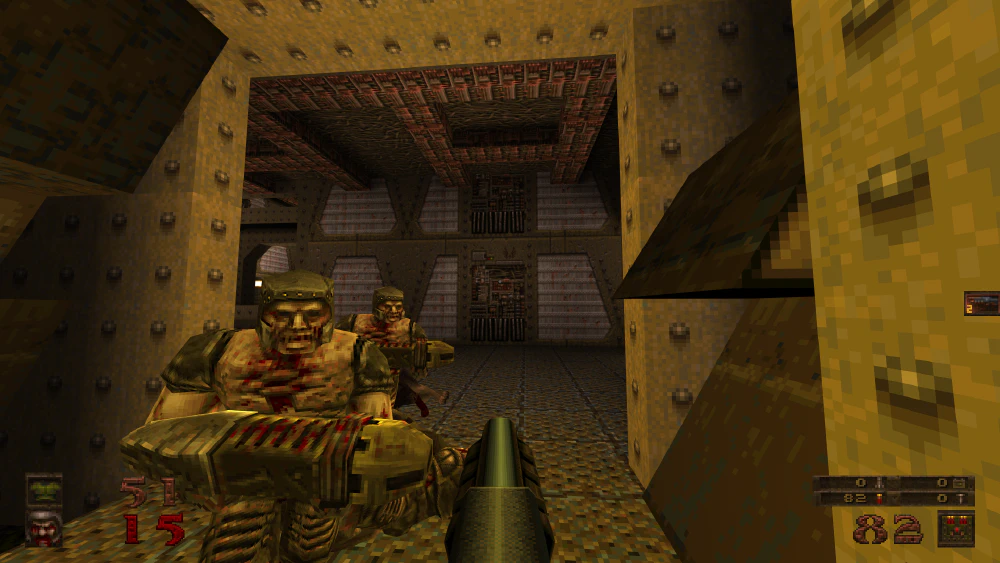
- The new weapon and enemy models. They fit the theme and style of the game well while being far less ugly than the vanilla models, and aren’t overly highly-detailed. (possible in Iron Wail with addons, see below)
- Achievements.
- Comes bundled with the original music. (possible in Iron Wail with addons, see below)
- Downloading Addons from the menu is swift and easy. (replicated by Iron Wail)
- New Campaigns are of high quality. (possible in Iron Wail with addons, see below)
- The environmental sounds and menu sounds are especially good.
Installing Quake and Expansions
Quake can be acquired from GOG.com or Steam
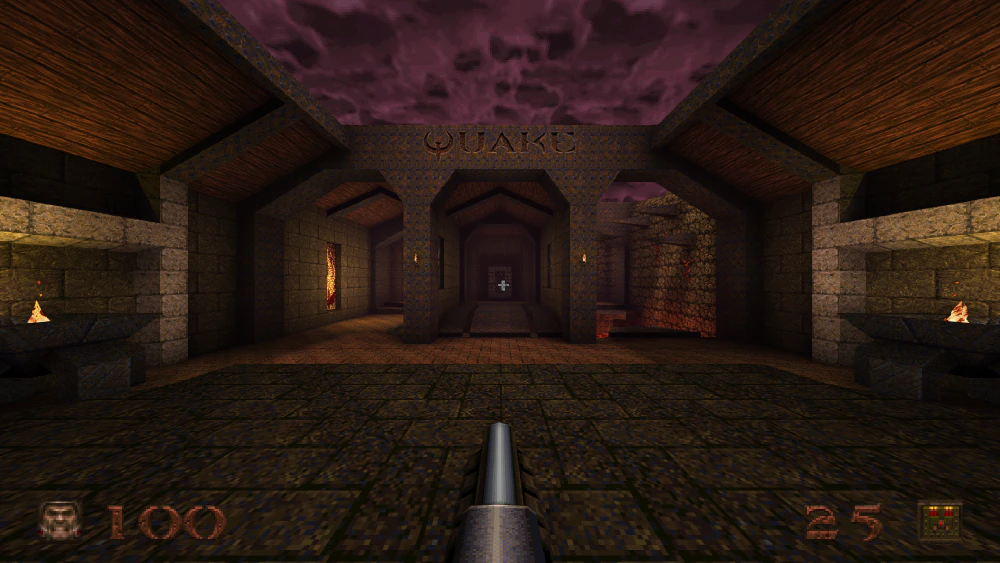
Once you have Quake installed, you will need to install a modern source port. I recommend Iron Wail, which boasts many features, including:
- Framerate-independent physics. The game can be played at any frame rate without physics issues.
- A Mods Menu, which will allow playing the expansions without needing to use command line parameters or the console
- Ability to change Weapon Key bindings using the UI, which is extremely useful for mice with extra buttons, and will be discussed later
- Better HUD
- Many other cool features.
Unzip Iron Wail to a new folder, then place the id1 folder from your Quake
install into the Iron Wail game folder.
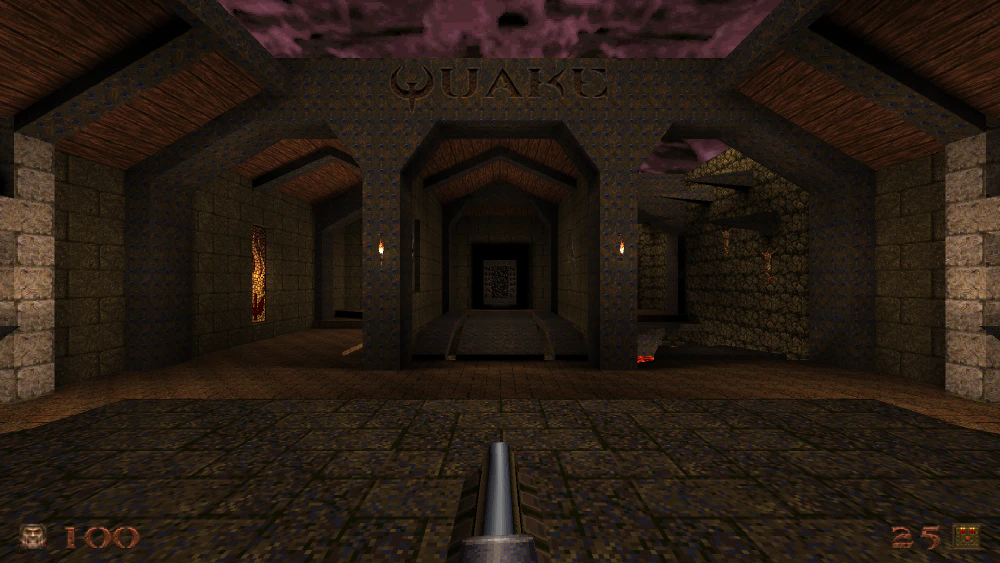
Once installed, try running Iron Wail for the first time and starting a new game. While this is certainly good enough for a basic experience (you may start playing now and skip the rest of this guide if you wish), Quake can still be improved further.
Installing Extra Campaigns
The Remaster ships with a few extra campaigns. These are playable in Iron Wail by copying their folders into the Iron Wail folder.
Install the Remaster, then copy the hipnotic, rogue, q64, mg1, and
dopa folders into your Iron Wail folder. Optionally, if you intend to play
multiplayer, copy the ctf folder as well.
Installing Higher Resolution Models
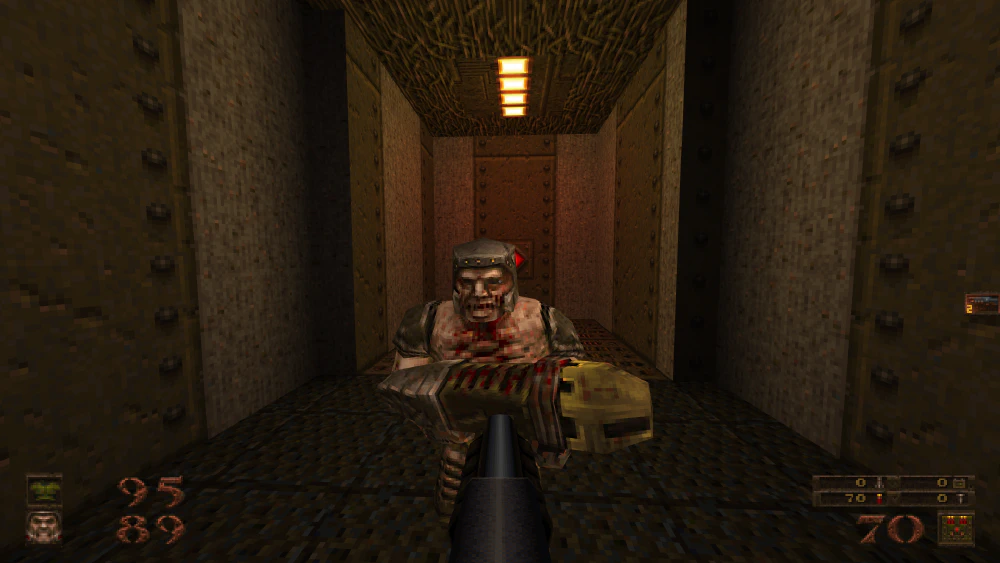
Playing the original, you will likely miss the higher-quality models of the Remastered version. To gain similar functionality, you will need to download a model pack.
My preference is to use a combination of 2 model packs, which should give a very authentic looking version of Quake with higher-poly models, while still looking very true to the original art style and graphical fidelity of Quake. Combining these will also properly support the extra weapons added by the expansion packs.
I am currently using OSJC’s Enhanced Quake 1 Model Conversions Pack (please ignore the screenshots in the linked thread, which show the players weapons angled to the side. The actual downloadable model pack doesn’t do this.), as well as the weapon models from the Edited Models Pack.
Installing OSJC’s Enhanced Pack
After downloading the zip archive, extract the files pak0.pak and pak1.pak, and rename them to pak2.pak and pak3.pak, then copy them to your id1 folder.
If you wish, you can use this pack without the Edited Models Pack. However, some of the weapon models are not converted correctly, and it is missing the models for the Mission Pack weapons.
Important: When installing pak files, it’s important that they are numbered correctly, with no gaps. If the last file in the folder is currently pak1.pak, the next installed file needs to be called pak2.pak, and so on
Installing the Weapon Models from the Edited Models Pack
Installing the Edited Models Pack involves building a custom pak file, which is a fairly involved process.
For convenience, I have provided a custom set of pak files, which can be downloaded here. This should be extracted to your Quake folder. If you decide to use these Pak files, you can skip this step entirely.
Alternatively, you can build the pak files yourself. To do so, do the following:
- Create a new temporary folder in your Quake directory named
temp - Download the Edited Models Pack from Google Drive.
- Extract the
MDL for ID1/progsfolder into thetempfolder. - Extract the
MDL for SoA (Hipnotic)/progsfolder into the temp folder. - Extract the
MD5+MDL for DoE (Rogue)/progsfolder into the temp folder. - Delete all files in the progs directory, except files starting with
v_ - Download PakExplorer
- Open PakExplorer and select
New pak(the paper icon). - When asked for a location, navigate to your
id1folder inside your Quake folder, and click Save. - Drag the progs folder into the right window pane.
- Ignore the error about invalid files. This is harmless.
- Exit the program.
- Add the newly generated
newpak.pakfile to theid1,hipnoticandroguefolders, making sure to rename it topak#.pak, where # represents the next number in the numerical sequence from the existing pak files.
Important: When installing pak files, it’s important that they are numbered correctly, with no gaps. If the last file in the folder is currently pak1.pak, the next installed file needs to be called pak2.pak, and so on
Installing Lightmap and Water Visibility Files (lit and vis files)
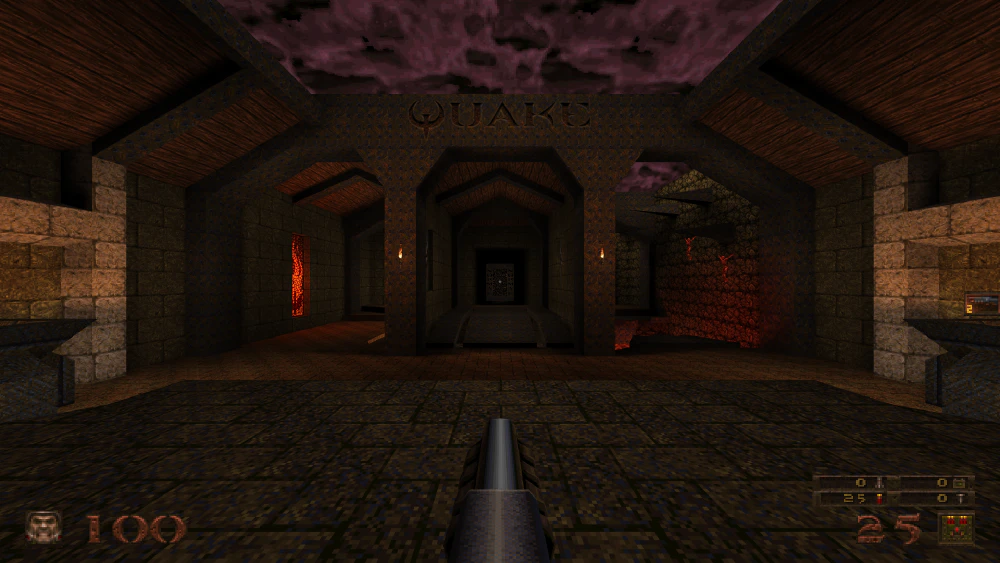
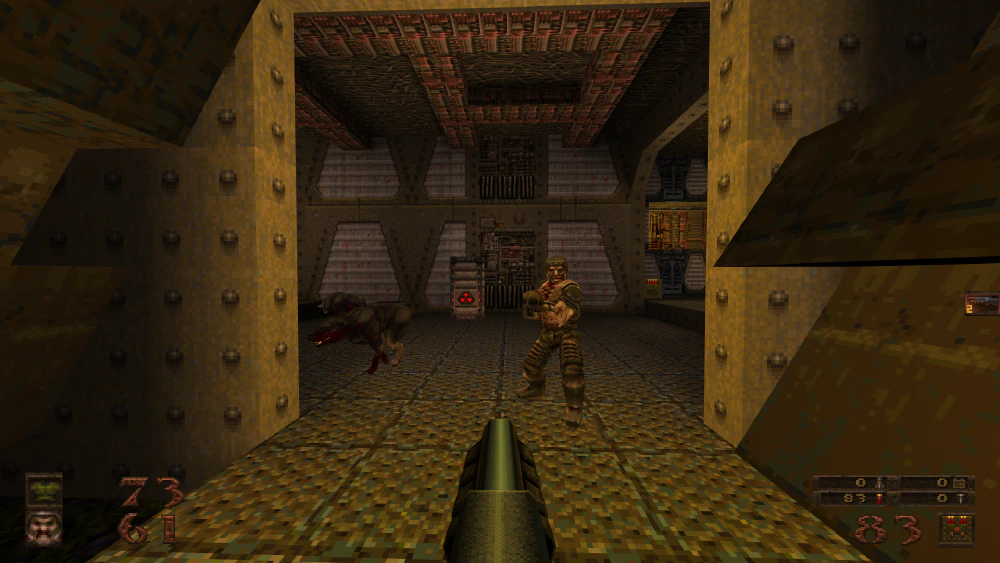
By default, the lighting in Quake is very bland, and very few surfaces project light, which may look unappealing. Luckily, the community has provided a collection of lighting files which can add coloured lighting to the original game maps, as well as the expansions.
To install them, download the Lit and Vis Files for Quake, SoA and DoE, then extract the files into your id1, hipnotic and rogue folders.
In addition to lighting changes, these files also provide water visibility information. This allows the game to be played with transparent water, if desired.
Installing Music
Music can be acquired by copying the id1/music, hipnotic/music and rogue/music folders from the Remastered version into your Quake installation.
Alternatively, music can be downloaded from here
Recommended Settings
For a retro look and feel with modern touchups, I recommend setting the following settings in the console or in id1/ironwail.cfg
scr_conscale "3"             //Set console to be larger on higher-resolutions
scr_menuscale "3"            //Set menu to be larger on higher-resolutions
scr_sbarscale "3"            //Set HUD to be larger on higher-resolutions
cl_alwaysrun "1"             //Always run
crosshair "1"                //Enable crosshair
scr_crosshairscale "1"       //Make the crosshair small.
fov "110"                    //Set High FOV.
gl_texturemode "GL_NEAREST"  //Set Unfiltered graphics.
                             // Consider alternatively using GL_NEAREST_MIPMAP_LINEAR
                             // for a little bit of smoothing at long distance,
                             // resulting in less aliasing while maintaining the unfiltered look.
r_particles "2"              //Use square particles, rather than round.
r_viewmodel_quake "1"        //Show more of the viewmodel, similar to vanilla Quake
hudstyle "2"                 //Use a more modern, streamlined HUD.
r_wateralpha "0.8"           //Add a slight amount of transparency to liquids.
                             // Setting this below 0.7 is not recommended, as you can
                             // see secrets and other goodies that you're not supposed to.
                             // Keeping it at 70% of above gives a nice view of edges below water,
                             // but keeps visibility very short.
r_waterwarp "1"              //Turn on vision warping effect when in water, similar to vanilla Quake
v_gunkick "2"                //Turn on smooth recoil, to replace the jerky motion from vanilla.
vid_fsaa "8"                 //adding some AA and Aniso will smooth jagged edges while keeping the unfiltered look
vid_fsaamode "1"
gl_texture_anisotropy "16"
